 As you plan out your organic garden, starting your seeds indoors is a key step you should complete. Before starting your seeds indoors, take a look at the helpful tips below.
What to do before you actually start your seeds
· Since one seed packet often yields more produce than you will need, be sure to team up with a neighbor before you start your seeds.
· Avoid starting your seeds too early, especially tomatoes. Keep in mind that most annual veggies and flowers need to be sown indoors approximately 6 weeks before the final frost in your area.
· If you need help with timing, you can refer to an online seeds chart, such as this one from Old Farmer’s Almanac.
· Follow the directions on the packet. Some seeds may require you to soak, chill, or scratch them before they get planted.
· Clean your containers! If you’ve gardened before, be sure to clean your flats. If you’re new, keep in mind that most seed catalogs offer seedling pea pots, flats, and other growing containers. Don’t forget to poke holes in the sides near the bottom of the containers you use so they have plenty of room to grow and eliminate excess water.
· Label, label, label. When planting time comes, there’s nothing more frustrating than forgetting what seeds you put where.
How to start your seeds indoors
· Fill all of your clean containers with the seedling mix. Start by placing soilless peat moss in the container and then mixing in equal amounts of perlite and vermiculite. Be sure the amounts you put in are enough to hold water and allow for proper oxygen flow. Note: do not use potting soil.
· Pour the soilless mix into a large bucket and dampen it with warm water. Fill all of your containers to the spot just below the rim.
· Follow instructions: plant your seeds according to the directions on your seed packet. Most seeds can be gently pressed into the mixture. if you find it easier, don’t be afraid to use a pen or the eraser end of a pencil to gently push the seeds in. When planting your seeds, be sure the largest seeds in the packet in order to get the best germination rate.
· Cover your newly prepped containers with plastic. Then take a toothpick and prick holes in the bottom to allow for proper ventilation. Water the seeds as directed on their packet.
· Keep in mind that newly started seedlings should be watered carefully. If you use a pitcher, you run the risk of pouring the water onto them too forcefully. Instead, use a spray bottle or some other type of mist sprayer to gently water them. While using a spray bottle or mister will take longer, it will pay off in the end because you won’t have to start over! If you don’t have a mister or spray bottle handy, try using a turkey baster. This will dispense the water effectively while preventing too much soil disruption.
· Place your newly potted seeds in a place where they’ll have access to natural heat on the bottom. Try finding room on top of the refrigerator or near the oven. Be sure to move the tray when you use the oven, as the seeds will get too hot if left there.
· Maintain proper temperature. Seeds typically sprout best at temperatures of 65 to 75 degrees Fahrenheit.
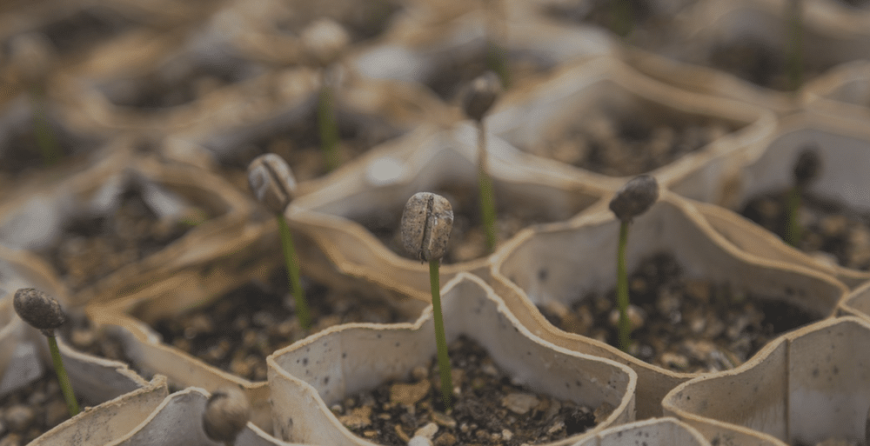
· As soon as you see the seedlings popping up, remove the plastic and place them in an area where they’ll receive bright light. This will encourage them to continue growing.
·When the seedlings sprout their second pair of leaves then you can prepare their individual pots. Fill the individual pots with a potting mix as well as plenty of rich, healthy compost. Then move the seedlings carefully into their assigned pots and water them well. Keep in mind that the pots should still remain out of direct sunlight at this time, at least for a few days.


